Otonabee Garage Door ServicesBulletin 1 of 3Peterborough, Ontario
Garage Door Cable Replacement: step by step
Which counterbalance your door has shapes the job.
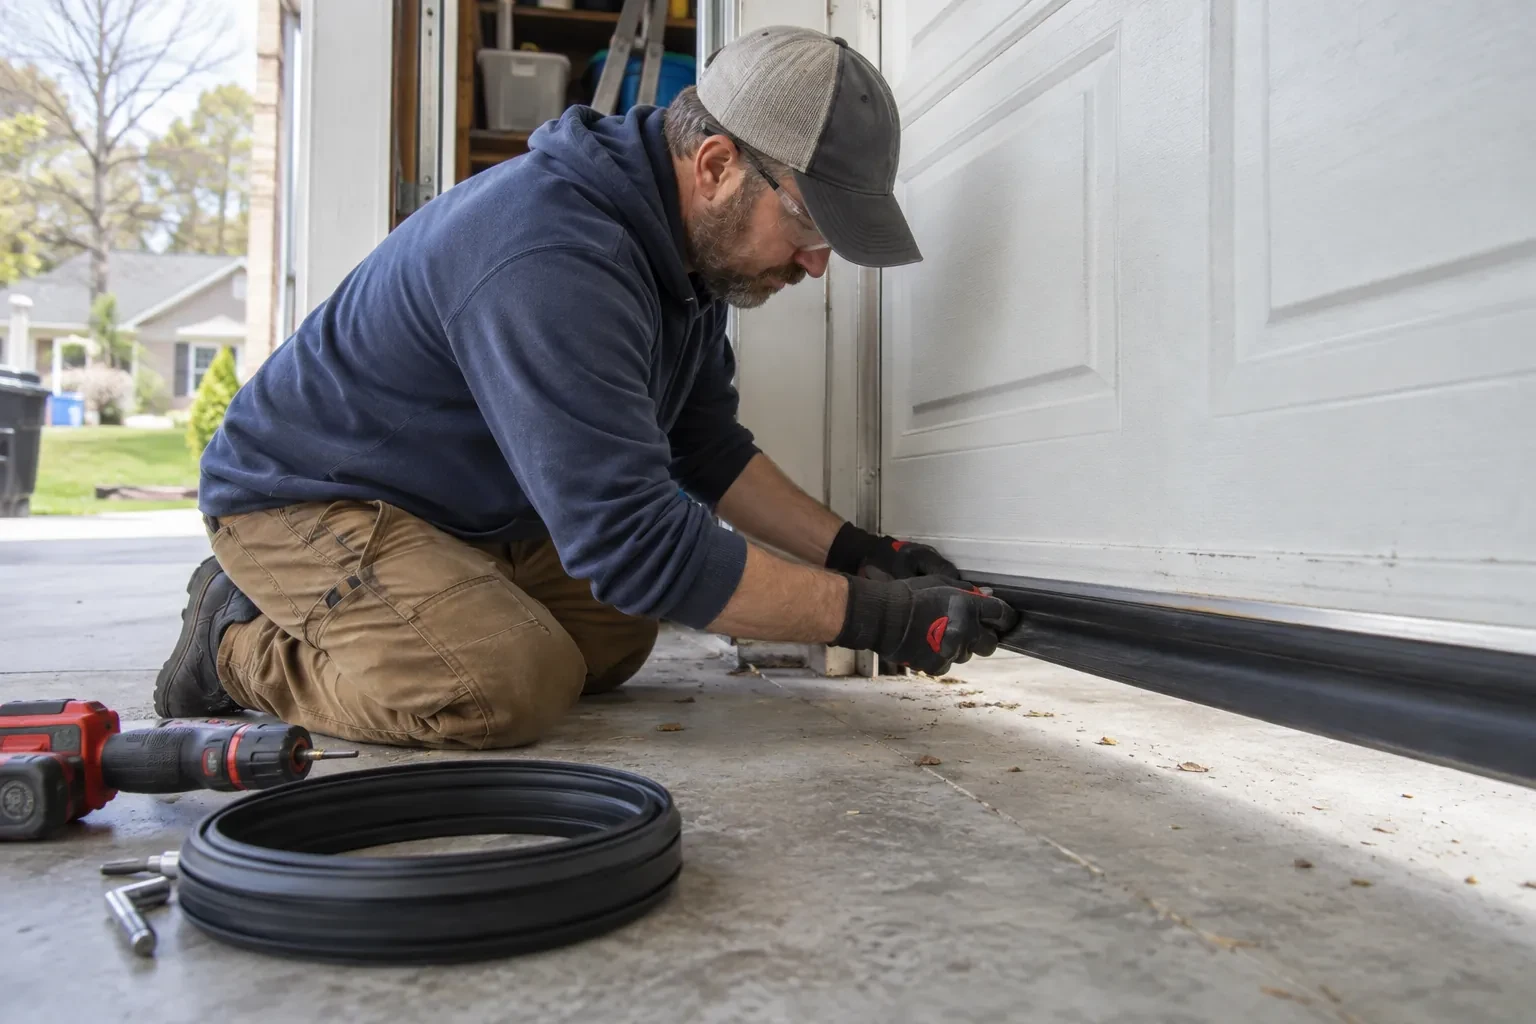
Which counterbalance your door has shapes the job. Torsion doors carry a spring on a shaft above the opening, and the cables wind onto grooved drums at each end; the technician winds the spring down with steel bars, swaps the cables, sets the drums and winds it back up. Extension doors, common on older detached garages, run the cables over pulleys beside the horizontal tracks with a spring stretched behind each; here the door is opened and clamped so the springs relax, then the cable is threaded, adjusted at its clip and checked against its containment cable. Either way, the service ends with a balanced door.
Track, rollers and the door itself
The last part of the first look follows the door's path. The technician checks that the vertical tracks are plumb and evenly spaced from the door, that the curve into the horizontal run is smooth, and that the track brackets are tight to the jamb. Rollers are checked for cracked wheels and bent stems, hinges for splits, and the bottom section for a dent or bow from a vehicle. Any of these can rub a cable or hold one corner back, and each is easier to correct while the counterbalance is unloaded. If the door is off its track as well, that is set straight as part of the same work.
Fitting cables that match the door
The replacement cables are chosen for construction, diameter and length rather than taken from a general bin. Residential doors use galvanized aircraft-type wire rope, and the length depends on the door height, the drum profile and the lift type; a high-lift door or a double door has its own requirements. The swaged stop on the new cable is seated in the drum slot and the cable is wrapped in the groove in the correct direction, leaving the drum on the side that leads straight down to the bracket. At the bottom, the loop goes over the bracket pin and is secured. The other side is fitted the same way.
Cables and springs on the same clock
Cables and springs age together, and your new cables now have a head start on the springs that remain. If the springs were assessed and left in place, you have a rough idea of the cycles they have left, and the sensible plan is to have them changed as a pair before they break, at which point the cables are checked again and simply re-tensioned. A door that starts to feel heavy, a spring that has gone quiet and then begins to creak, or a gap appearing in the coil are the signs to act on. Handled this way, the counterbalance is renewed in planned visits rather than on a difficult morning.